Session 1 · The missing freightThe wagon and the shore
Hanna Rist's freight wagon was attacked. The party found driver Tomas Reed alive but injured; Perrin Vale was missing. Humanoid tracks led to the stolen chest, while stranger long-toed prints pointed toward the coast. There the party encountered Brine Crawlers.
Session 1 · The hutA recovered chest, a missing fragment
Bandits using an abandoned fisherman's hut and smuggler passage had taken Hanna's chest. The party recovered and returned it, but the chest had been opened and a stone fragment was gone. A black-metal object bearing a three-circle, curved mark offered another clue.
Session 2 · Site IISomeone arrived first
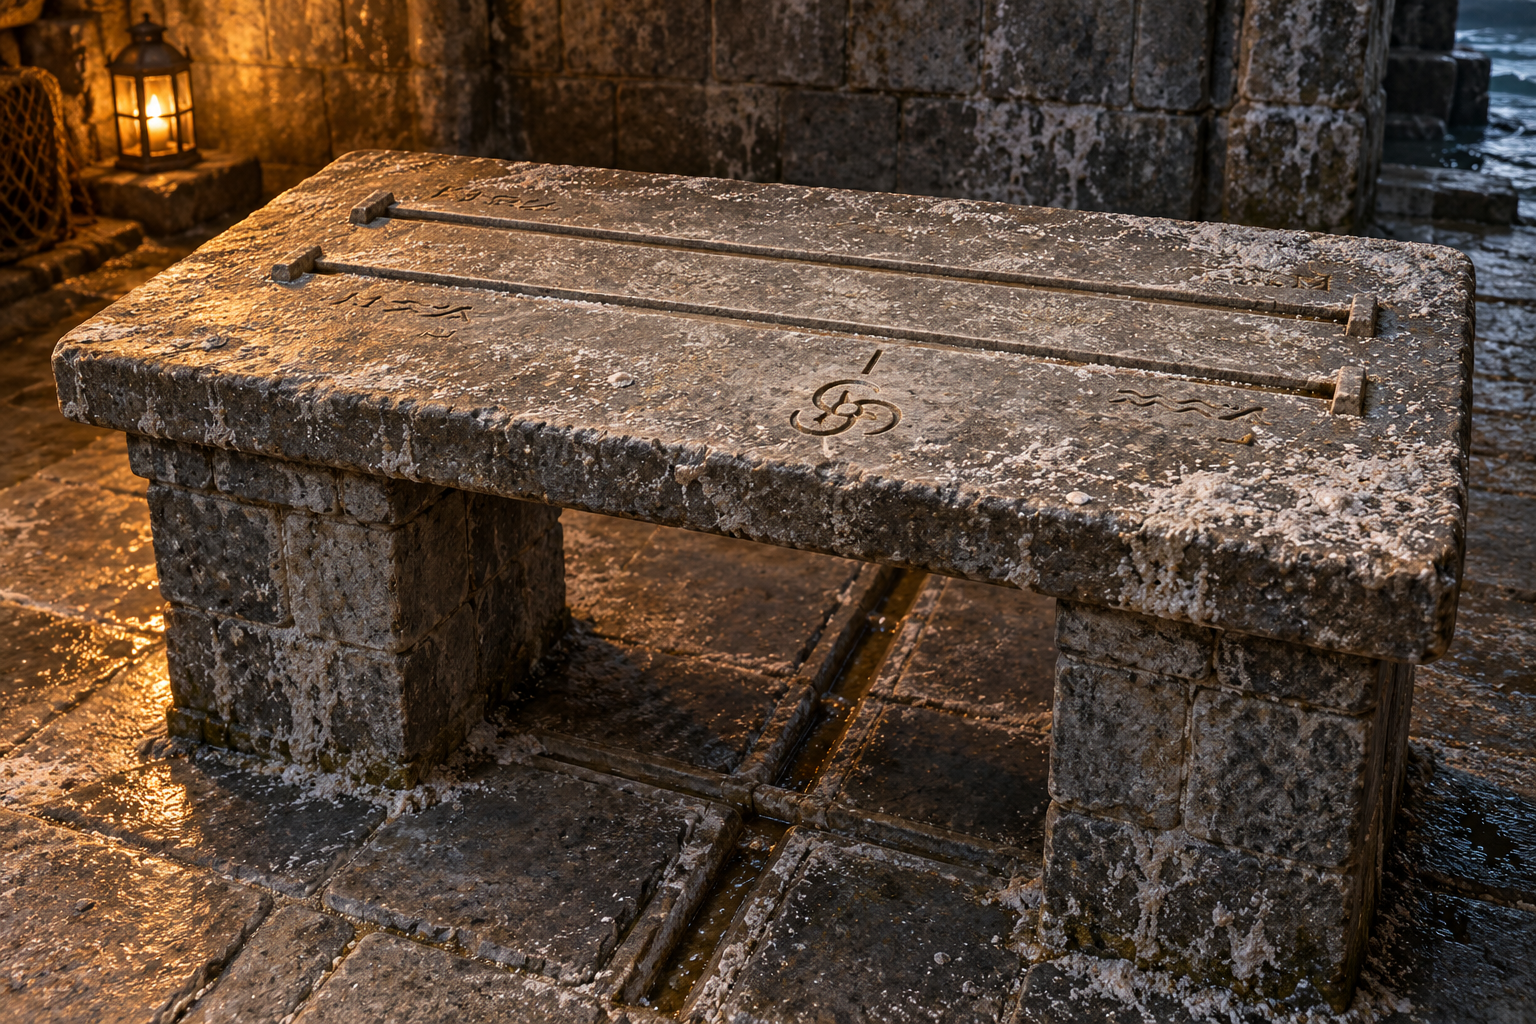
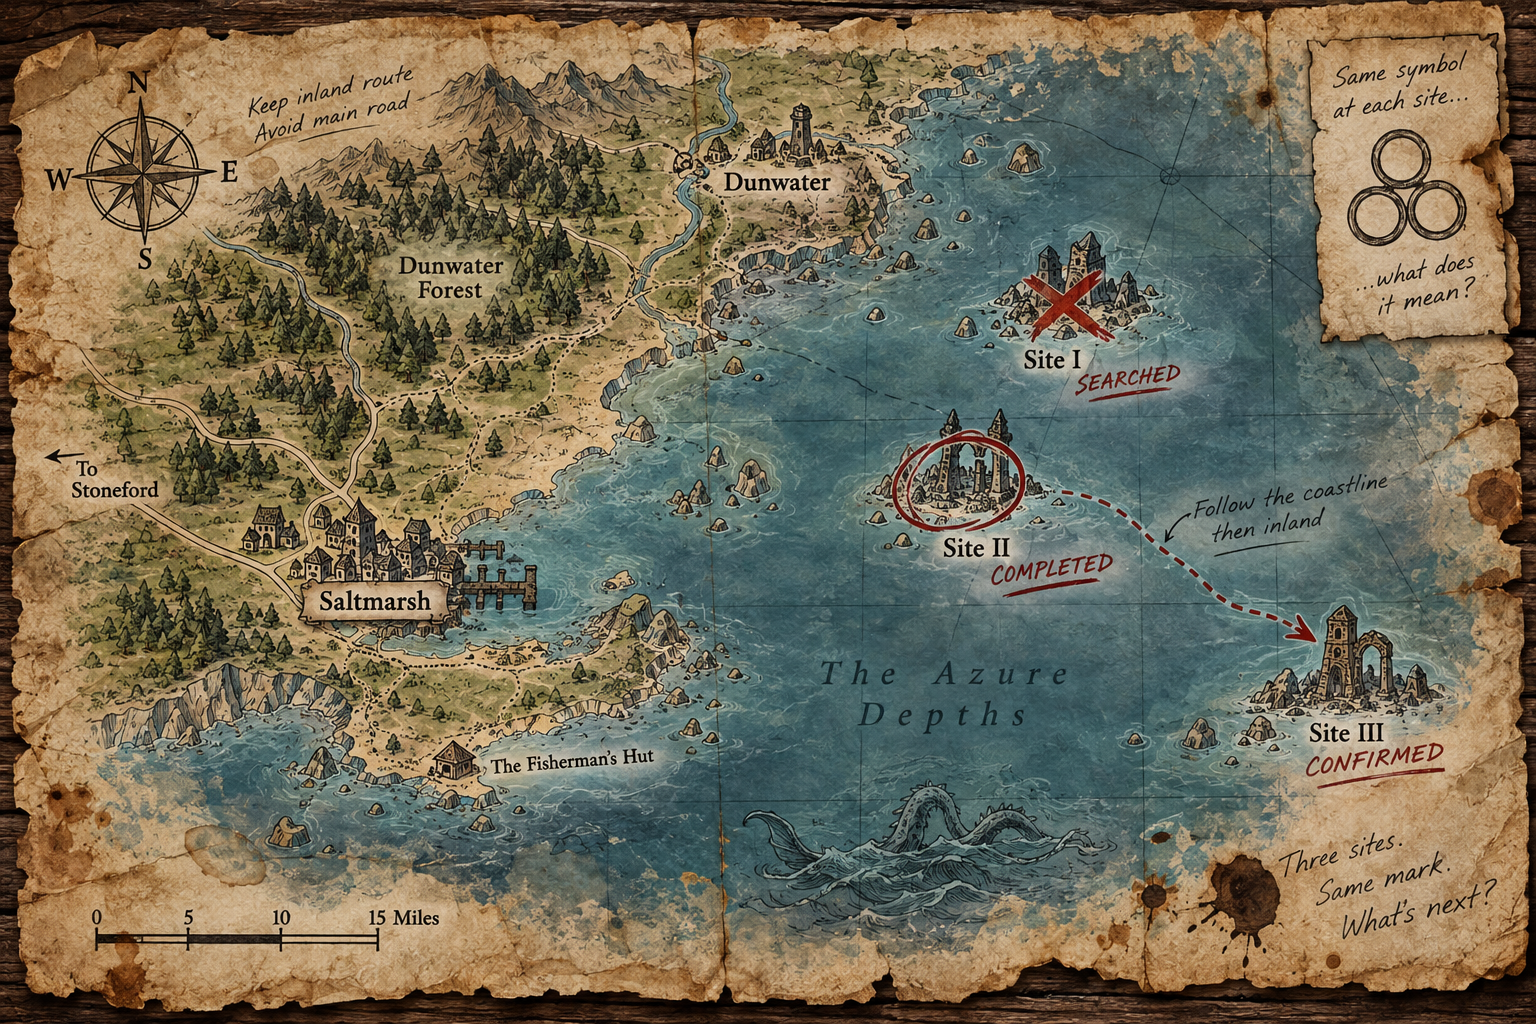
At Site II, guards connected Varris to a search for old carved stone. Beneath a hut and cellar, a hidden passage reached an ancient round chamber. Its marked pedestal had recently been emptied. A map identified Site I as searched and Site III as confirmed.
Session 2 · Back in SaltmarshThe council suspects more
The party told the council about signs of occupation but withheld the tunnel, chamber, map, guards, and burned note. Captain Elara Thorn was certain the party knew more, and withheld a reward. The party then left by an indirect route and made a concealed camp about five miles out.
Session 3 · The night watchSearchers at the camp
On Vythar's watch, he heard footsteps approaching from an unexpected direction. Two hired searchers asked about black-metal objects marked with three circles and curved lines. The party denied seeing them. The searchers left without finding the concealed camp.
Session 3 · The road to Site IIITracks at the ruins
After a full night's rest and breakfast, the party broke camp and followed the route to Site III. Fresh boot prints and wagon tracks led toward old fitted stonework like that at Site II. At least two people and a wagon were present; the party then found four bandits among the ruins.
Session 3 · Site IIIThe fight and the chamber
Sims was spotted near the crates, and the party defeated the four bandits guarding the ruins. They explored the chamber below and learned that their two black-metal objects interact with its ancient mechanism. They now believe five such objects exist. The mechanism is dormant, and its full purpose remains unknown.
Session 3 · The surviving banditA lead inland
The bandit Vythar felled with an unarmed strike survived. Mara gave him one Goodberry, and he answered Sims’s questions. Varris had ordered the crew to secure any black-metal objects rather than sell them. He directs the search from an old logging camp inland, where he keeps maps and papers. The bandit did not know a fourth numbered site, but had heard Varris discuss a “next location” that still needed confirmation.
Session 4 · Leaving Site IIIEdd leads the way
The surviving bandit gave his name as Edric “Edd” Fenwick. The party spared him and took him along, bound and gagged, toward the logging camp. Along the route they saw repeated wagon and foot traffic, excavation grit at the creek, and the familiar mark on a broken shovel handle.
Session 4 · The logging campAn alarm and a ceasefire
The party scouted the camp from the southeast. Vythar’s attempt to enter alone drew the guards’ suspicion and the alarm bell sounded. Sims struck a worker with Fire Bolt, Mara restrained a guard with Entangle, and Brunna put the wounded worker to sleep. Brunna freed Edd and paid him 15 gp; he fired a crossbow at a guard. Vythar was wounded while escaping. Varris then called for lowered weapons, and the confrontation became a ceasefire.
Session 4 · An uneasy allianceVarris and the watchtower
Varris had no information about Perrin. After the party showed the genuine mark and described Site III’s mechanism, he called the objects “Tide Keys” and offered a coastal watchtower survey. He returned Vythar’s weapons and supplied a healing potion. After a short rest, the party, Edd, Varris and one guard traveled to the watchtower together.
Session 4 · Beneath the watchtowerFive instruments and a warning
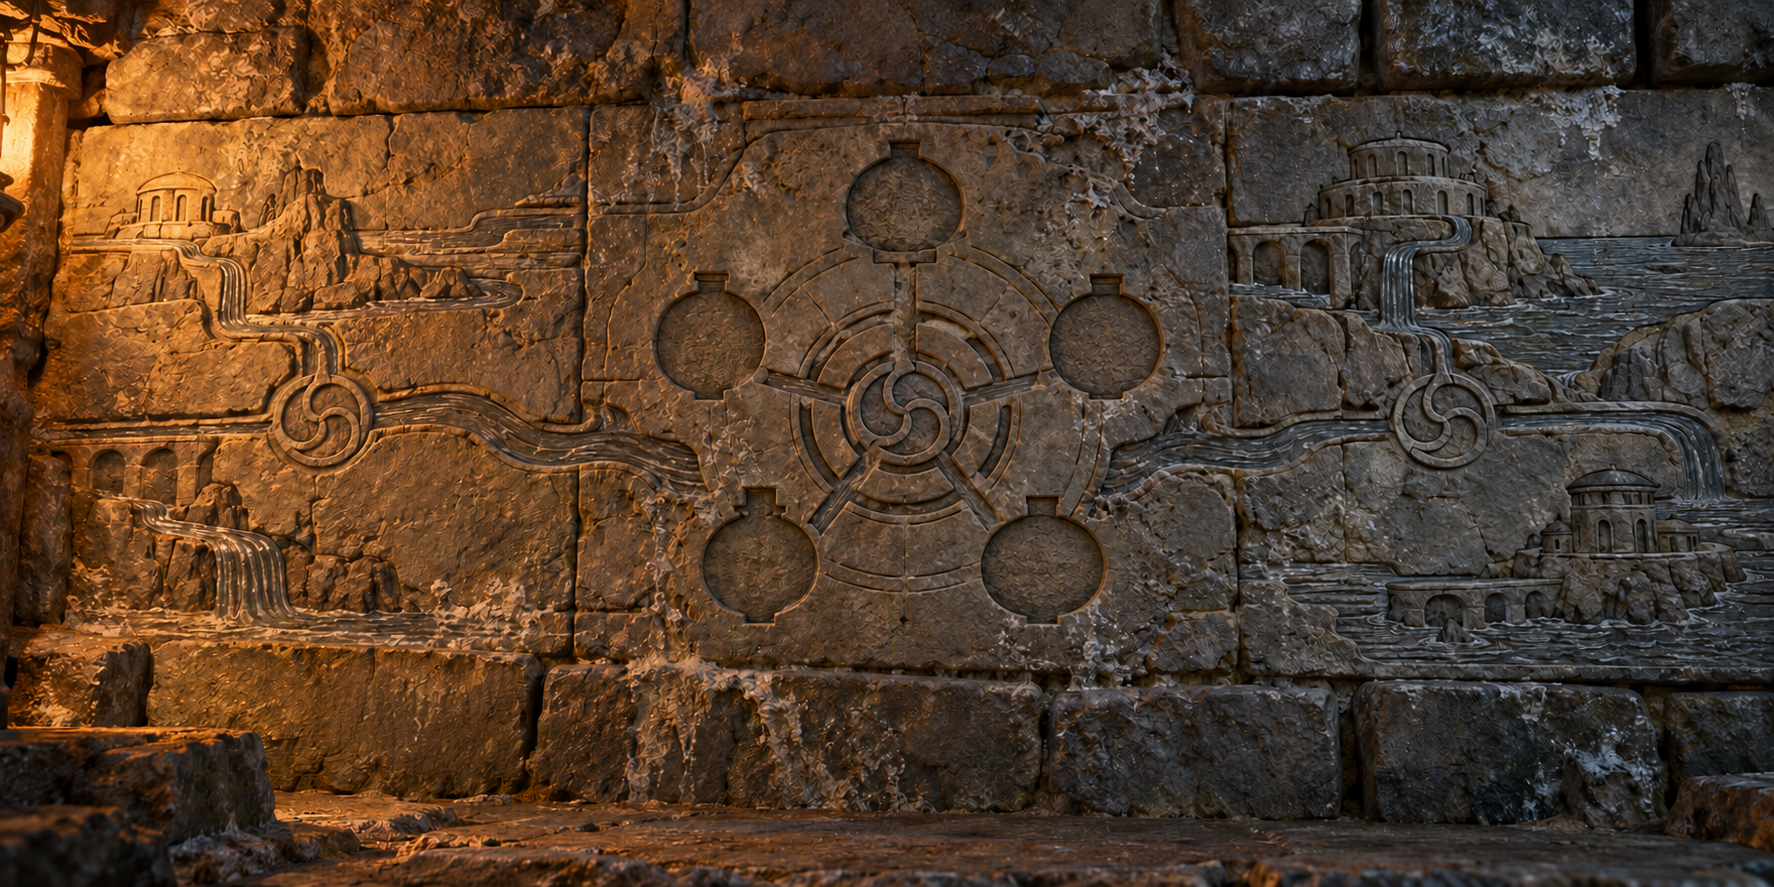
A hand-operated dial opened a water-driven stone door without a Key. Beyond it, carvings showed five matching components around a central arrangement. Brunna cast Comprehend Languages as a ritual and read surviving instructions: each of five instruments must be in its appointed bearing with marks facing inward before admitting tidal flow. An incomplete arrangement is not proof of safe operation. No additional Key was found.
Session 4 · The returnAn introduction requested
Sims revealed that the party had found two Keys. Brunna loaned Varris one for examination; he returned it. Varris said Mariel Voss directs his work and that a Key is held under her authority. The party requested an introduction, then returned to the logging camp so he could send a message. Brunna kept both Keys concealed on her person.